
Getting Additional Information onto Your MacBook Air
Your MacBook Air comes with several applications installed, including the iLife suite.
Many other applications can be downloaded from the Mac App Store or the Internet. If
you want to install third-party applications from a DVD or CD, you can:
Â
Install applications onto your MacBook Air or share information using the optical disc
drive on another Mac or PC (if DVD or CD Sharing is set up and enabled). For more
information, see the next section.
Â
Attach the MacBook Air SuperDrive (an external USB optical disc drive available
separately at www.apple.com/store) to the USB port on your MacBook Air, and
insert your installation disc.
Setting Up DVD or CD Sharing
You can partner your MacBook Air with another Mac or PC that has an optical disc
drive and is on the same wired or wireless network. Use this other computer to:
Â
Migrate information to your MacBook Air after setup using Migration Assistant
(for information about using Migration Assistant, open Help Center and search for
“Migration Assistant”)
Â
Share the contents of DVDs or CDs or install applications (see the next section)
16
Chapter 1
Ready, Set Up, Go
The computer with the optical drive can be a Mac with Mac OS X v10.4.11 or later, or a
Windows 7, Windows XP, or Windows Vista computer. If the Mac has Mac OS X v10.5.3 or
later, DVD or CD Sharing is already installed. You can partner with more than one other
computer, but you can use only one partner computer at a time.
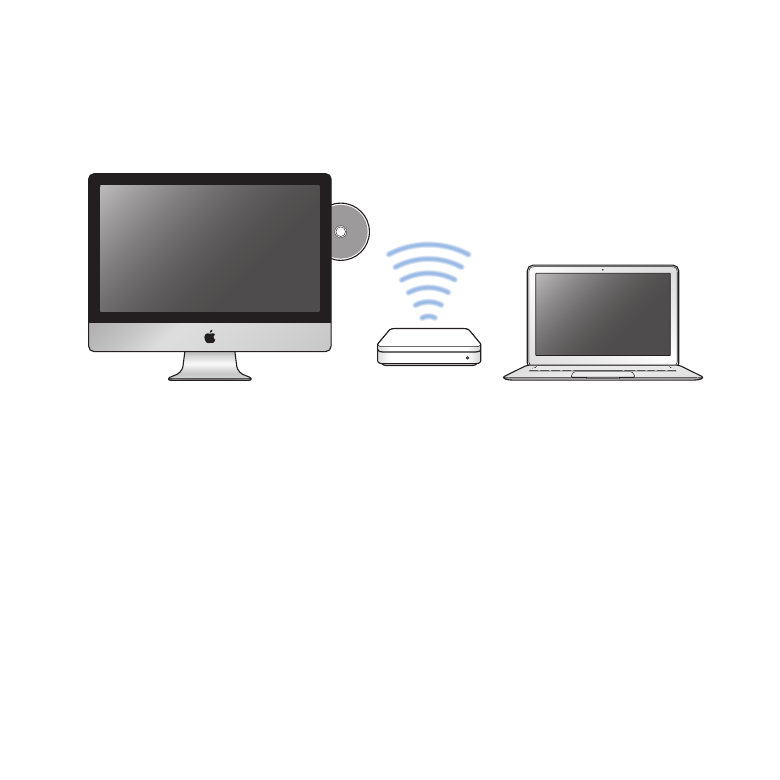
Mac or Windows computer
MacBook Air
If the other computer is a PC or a Mac with a Mac OS X version earlier than 10.5.3,
download the DVD or CD Sharing Setup software for your partner computer:
Â
If the other computer is a PC, go to support.apple.com/kb/DL112 and download the
DVD or CD Sharing Setup for Windows installer.
Â
If the other computer is a Mac with Mac OS X v10.4.11–10.5.2, go to
support.apple.com/kb/DL113 and download the DVD or CD Sharing Setup for Mac
Installer.
After you download the software, follow the steps in the next section to enable DVD or
CD Sharing, or read detailed instructions in support.apple.com/kb/HT1777.

17
Chapter 1
Ready, Set Up, Go
Important:
After you install the DVD or CD Sharing Setup package on your other Mac,
make sure you have the latest software by choosing Apple () > Software Update.
Install any available Mac OS X updates.
Sharing Discs with DVD or CD Sharing
You can enable DVD or CD Sharing on a Mac or PC to use the Remote Disc feature of
MacBook Air. Remote Disc allows you to share the discs you insert into the optical disc
drive of the other computer. Some discs, such as DVD movies and game discs, may be
copy-protected and therefore unusable through DVD or CD Sharing.
Make sure DVD or CD Sharing is already set up on any Mac or PC you want to partner
with. For information, see page 15.
To enable DVD or CD Sharing, if your other computer is a Mac:
1
Make sure your MacBook Air and the other Mac are on the same wireless network.
On the other Mac, choose Apple () > System Preferences and then open Sharing.
2
In the Sharing pane, select “DVD or CD Sharing” in the Service list. If you want other
users to request permission to share a DVD or CD, select “Ask me before allowing others
to use my DVD drive.”
To enable DVD or CD Sharing, if your other computer is a PC:
1
Make sure your MacBook Air and the PC are on the same wireless network.
2
On the PC, open the DVD or CD Sharing control panel.
3
Select “Enable Remote DVD or CD.” If you want other users to request permission to
share a DVD or CD, select “Ask me before allowing others to use my DVD drive.”

18
Chapter 1
Ready, Set Up, Go
To use a shared DVD or CD:
1
On the other computer, insert a DVD or CD into the optical disc drive.
2
On your MacBook Air, select Remote Disc when it appears under Devices in the Finder
sidebar. If you see the “Ask to use” button, click it.
3
On the other computer, when prompted, click Accept to allow your MacBook Air to use
the DVD or CD.
4
On your MacBook Air, use the disc as you normally would once it becomes available.
If you try to shut down the other computer or eject the shared DVD or CD while
your MacBook Air is using it, you see a message telling you that the disc is in use.
To proceed, click Continue.